WordPress Installation
This tutorial will demonstrate how to automatically install WordPress, a content management system for websites.
In the side menu, click on Applications. You will see the following screen:
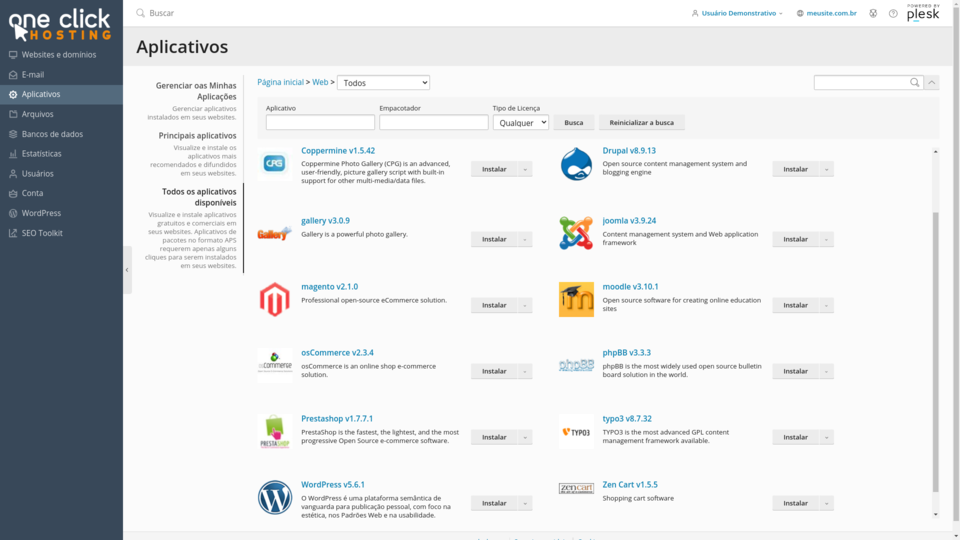 Locate the WordPress application in the list and click on the Install button. The automatic installation will start and will be completed in a few seconds.
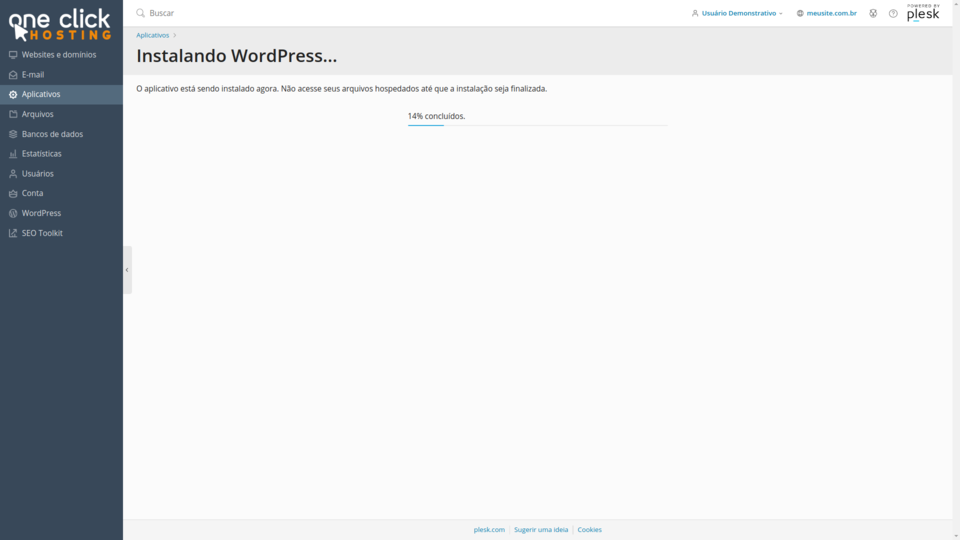 After completion, you will see a screen as shown below. Here, you can make additional configurations related to WordPress, view administrative login data, change plugins, perform updates, and much more.
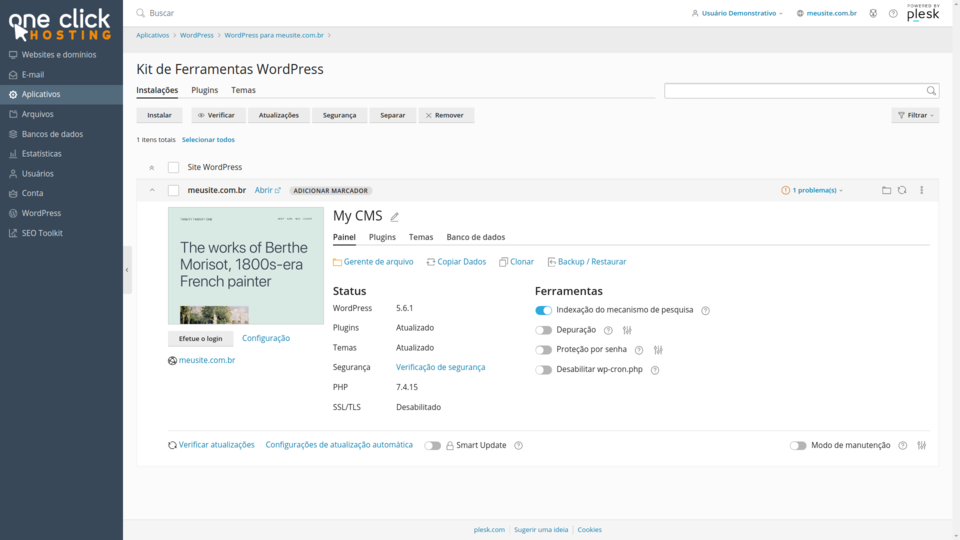 This tutorial demonstrated how to install WordPress, but there are many other applications available in the panel that can be installed with just a few clicks in the same way (Magento, Prestashop, Moodle, and many others).
If you have any difficulties, open a support ticket:
och.center/support
See you soon,
OCH